Table of Contents
The Aging of Solar Path Lights
We have very nice solar path lights.
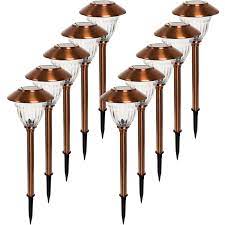
Lots of them. Enough to surround the perimeter of our corner lot home.
Our solar path lights have certainly earned their keep. Purchased 4 years ago, I think these Energizer stainless steel LED lights are the best outdoor solar lights available.
Having purchased quite a few different solar lights through the years, I have found these to be a good value as the most durable and best option for our hot summer sun, high winds, and winter freezing temperatures.
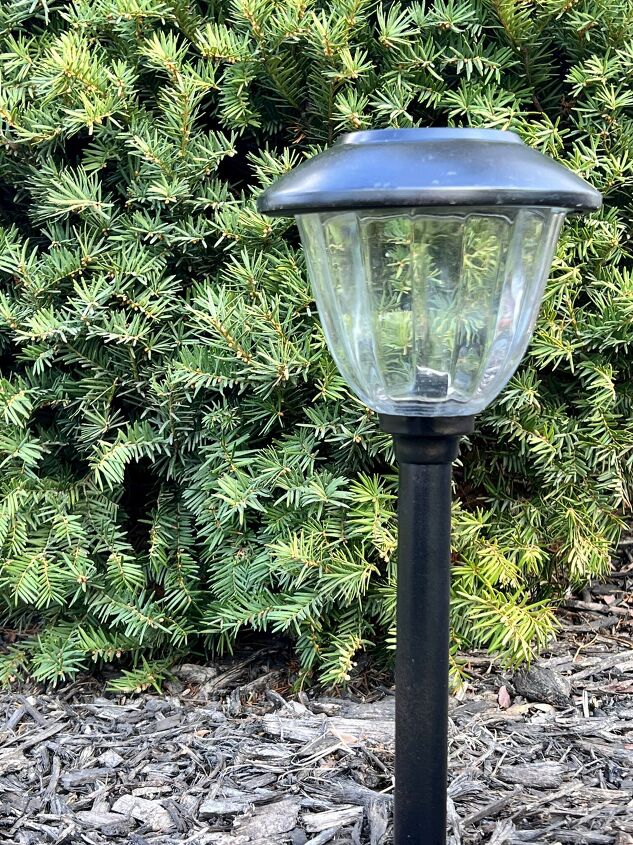
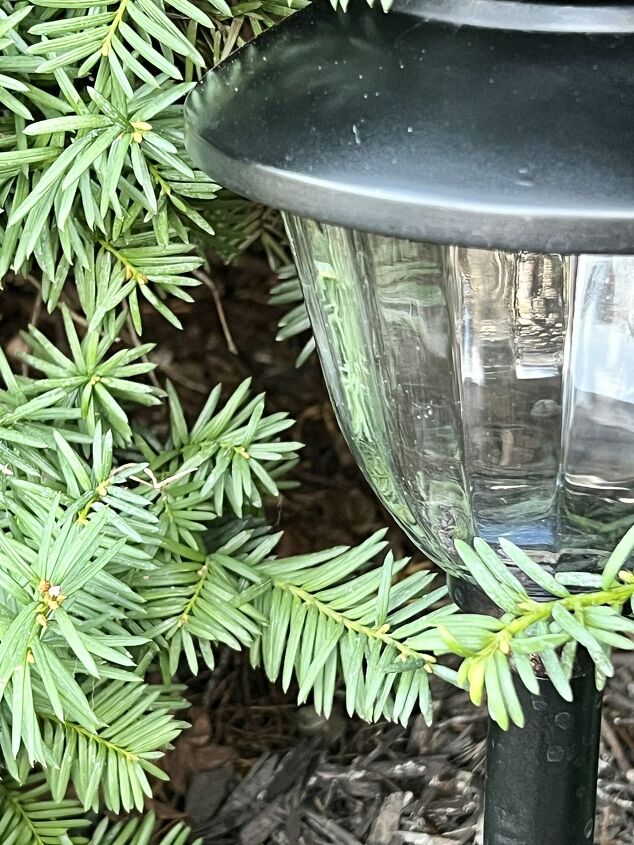
But, mother nature has had her way and this solar pathway lighting is showing the effects of aging.
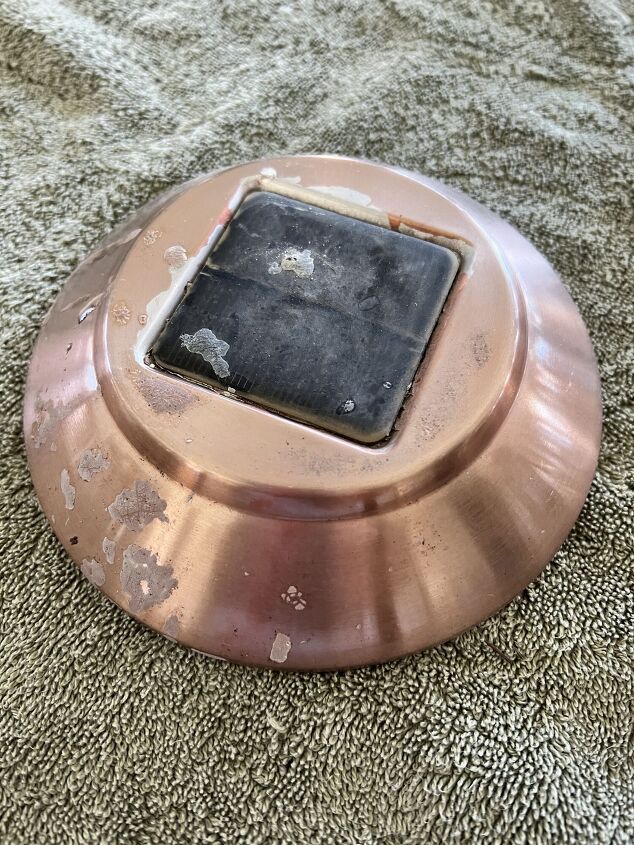
Exactly what has aged with these lights?
- The copper finish has faded or even completely disappeared.
- The color is uneven and blotchy.
- Some of the poles are bent and dimpled.
- And, for most of them, the solar panel is cloudy and splotchy.
However, even though they are faded, cloudy, and shabby, I love these Energizer solar path lights!
What is right about these Energizer solar lights?
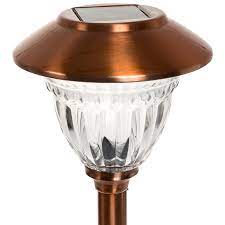
- These lights project a lovely warm white light.
- The tall height casts a far-reaching light
- The light is cast in a dramatic but not obnoxious pattern
- The bell shape is traditional yet feels updated
- They were a great value and affordable option with 10 lights in a pack.
- They have withstood our severe Nebraska weather conditions.
- These path lights have been like lovely jewelry illuminating the perimeter of our house.
How to Restore Outdoor Solar Pathway Lights
Rather than buy all new lights, I decided to save my money and restore what we have!
Before you get started restoring your path lights, approach each step with the framework of assembly line tasks. Especially if you have a lot of lights.
Tackling each task like an assembly line kept me focused and efficient as I worked each step.
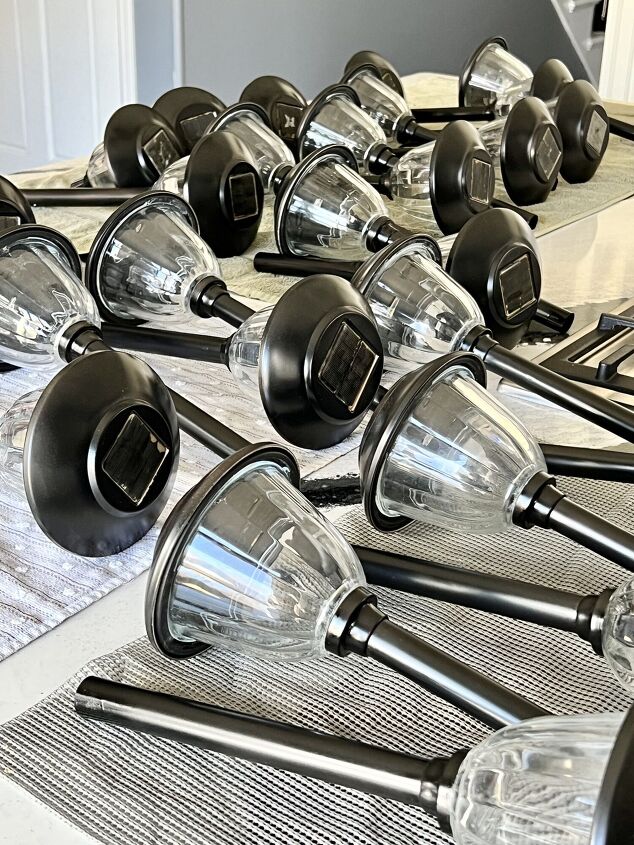
The first step is to take each light apart, give it a good cleaning, and place it in line with the others!
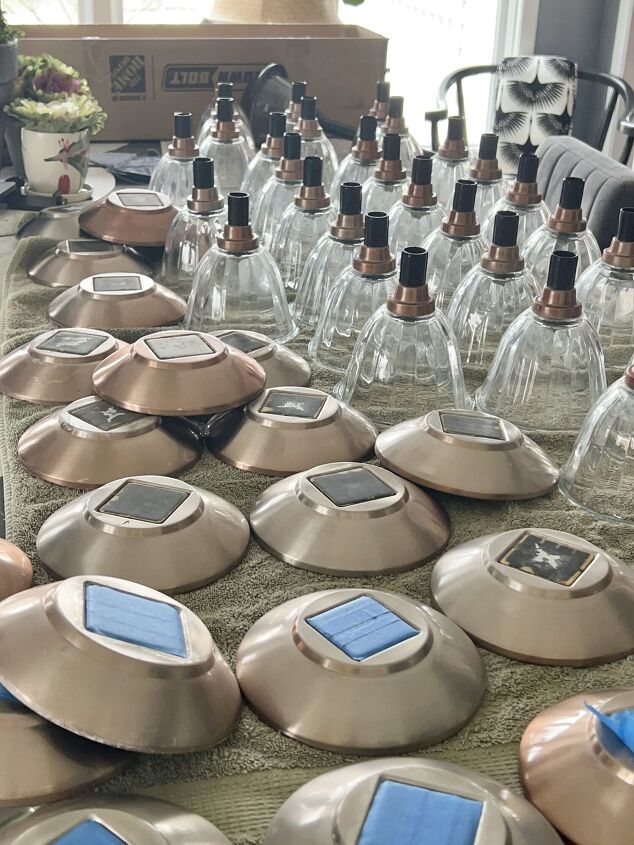
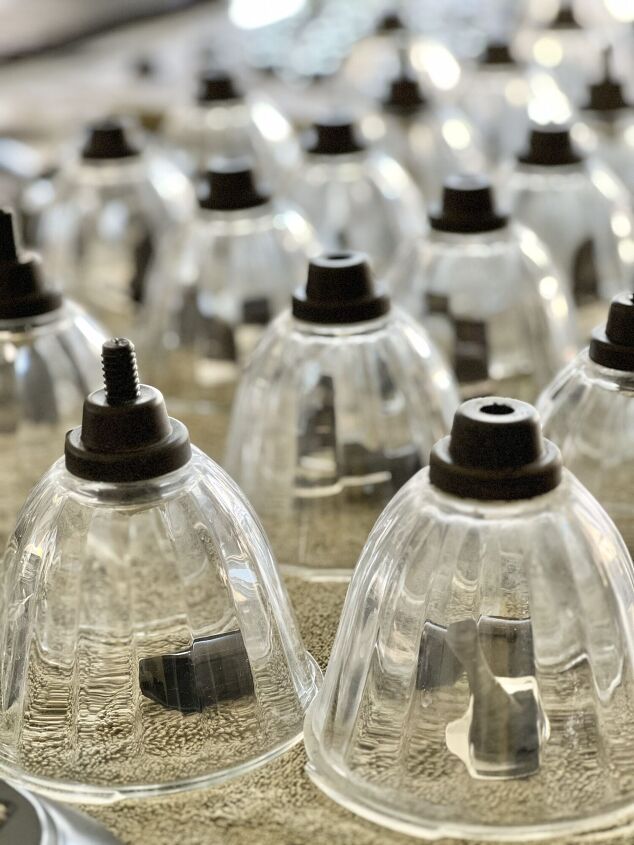
Poles in one pile, light caps in another, and glass domes in another with the caps and screws tucked in underneath so as not to lose them.
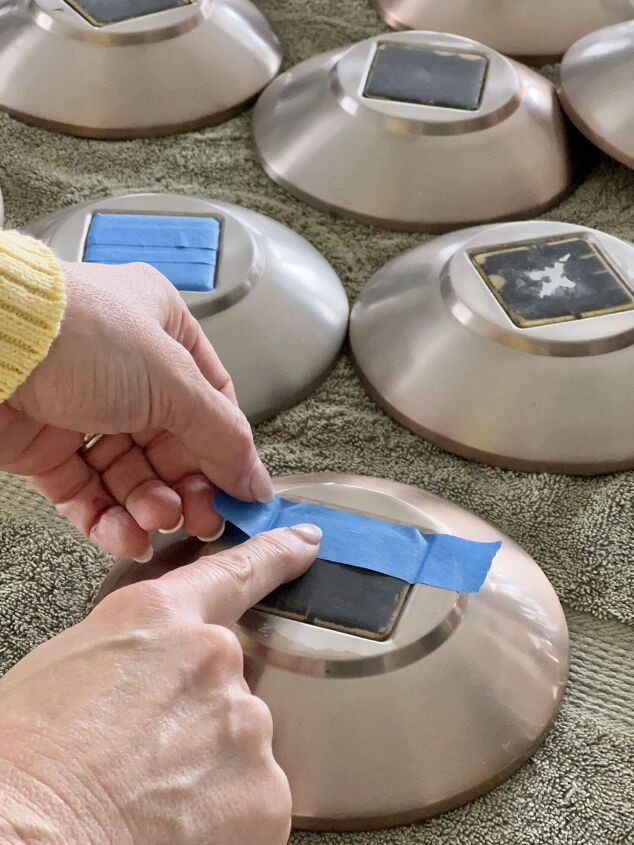
Next, tape off the integrated solar panel on each light cap with painter’s tape. Trim the edge around the panel with a knife and you are ready to paint the lights!
Painting the Solar Lights
I rounded up a couple of large pieces of cardboard and assigned light components for each piece.
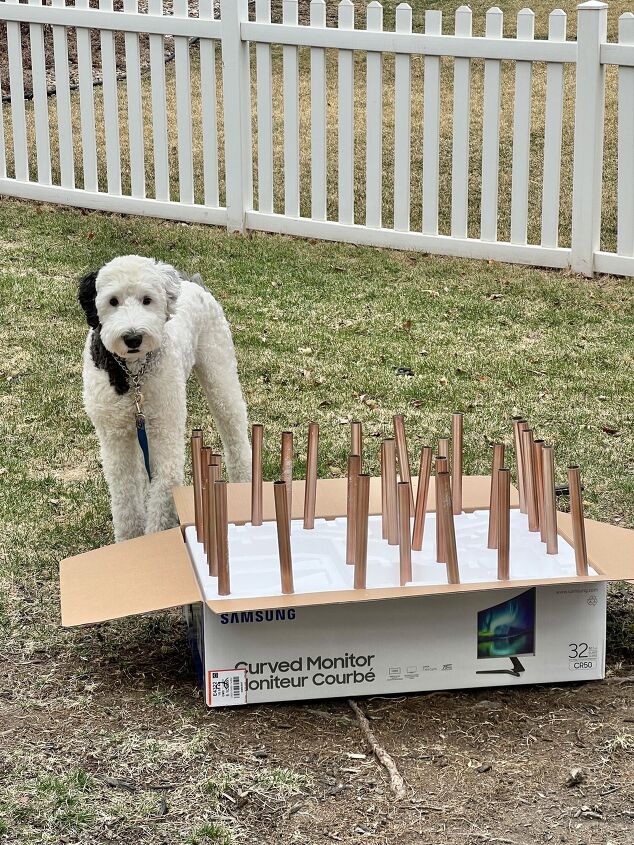
Light caps on one and screw caps on another. The poles got special treatment by getting stuck into a large piece of styrofoam that was the inner packaging of the computer monitor we recently ordered.
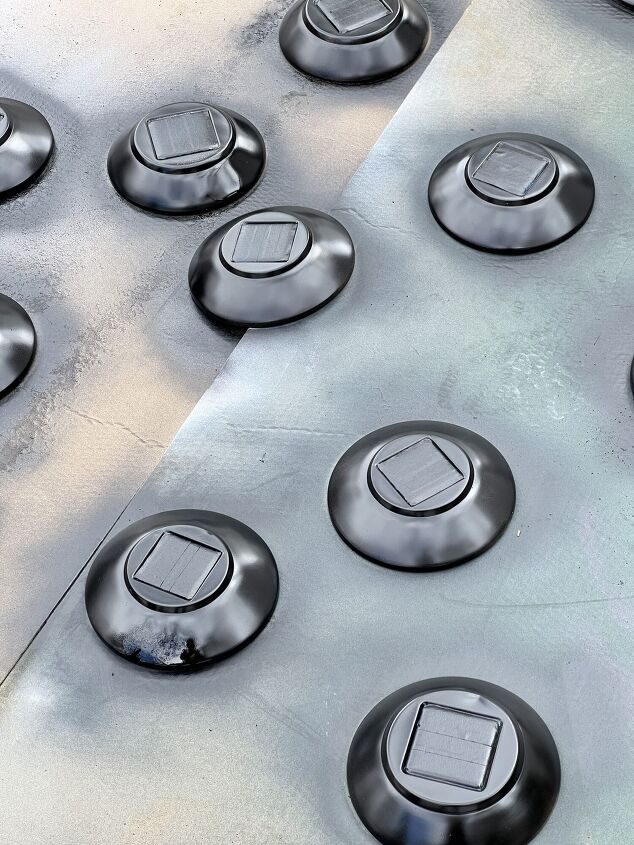
I decided to go with classic black for my color choice. Not only is this a traditional choice, but this color is the best approach for disguising any metal dents or dimples and a great way to give the lights a quick update.
Using a semi-gloss black protective enamel spray paint by Rust-Oleum, I gave each component section 4 light coats of spray paint. I have used Rust-Oleum in so many different projects because they have so many different colors available!
A Patio Table Makeover
A DIY Outdoor Chandelier
Dresser Makeover
I probably could have stopped at 3 coats but I want this paint to last a while!
Go ahead and spray right over the taped-off solar panels.
And just keep turning the light poles around and restick them into the styrofoam so you can get both ends covered.
Bentley didn’t quite know what to think!

Did this take quite a while for spray painting and dry time?
Yes!
Was it worth it?
You bet!
How to Clean and Restore Cloudy Solar Light Panels
I have read about many ways to clean cloudy solar light panels but I think I have discovered the easiest and most inexpensive way!
Are you ready? This is the coolest hack!
Clear nail polish!
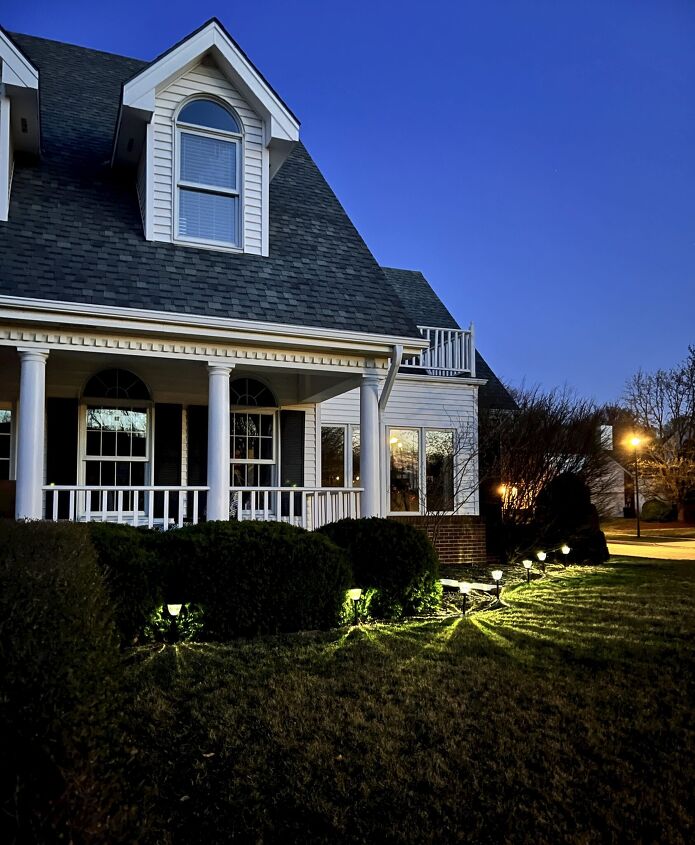
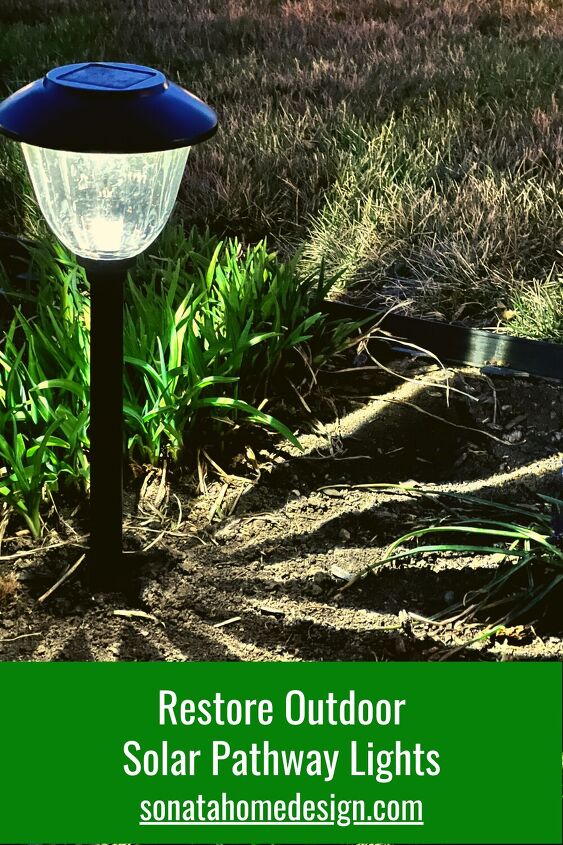
I love how this solar outdoor lighting casts such a nice warm white landscape path light around our landscape.
Remove the painter’s tape from the solar light and give brush the plastic solar panel with a coat of clear nail polish.

You see, clean and clear solar panels are able to capture more light throughout the day. So, applying the clear nail polish was like opening a window to capture the sun!
Be sure to set them in direct sunlight for at least 24 hours so their solar cells get exposed to as much sunlight as possible.
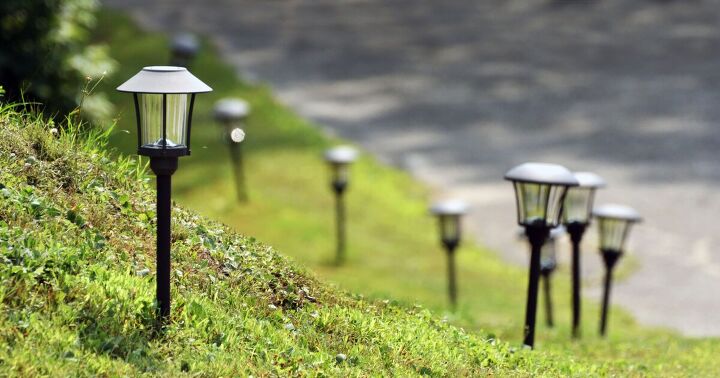
How Far Apart Should You Place Outdoor Path Lights?
The closer you place your lights, the stronger the illumination will be and the more overlap there will be in the light pattern.
Placing lights 6-8 feet apart seems to be a good distance in order to effectively illuminate a path, flower beds, or landscape border.
I love solar path lights at dusk…magical!
If you are illuminating a walkway, it is a good idea to alternate the lights from one side to the other. This distributes the light symmetrically for bet illumination.
Also, avoid placing the light pole right against the sidewalk or path. The best place is to set the light back a few inches so light reaches more sidewalk area.
How Long Will This Restored Light Last?
My goal is to give these lights at least one or two more years of life. Believe me, if I can make them last longer by reapplying the clear nail polish and additional paint, I’m there!
This is a process of prolonging the life of existing solar lights but it is not a “forever plan.”
Anything beyond that I will consider a gift!
And that’s it – you now know how to give your solar pathway lights a new lease of life!
It’s probably the easiest DIY you’ll ever do, but the satisfaction of having saved yourself a few bucks will be oh-so-sweet.
Where Can I Place Solar Outdoor Lights?
Because solar lights have such great ease of use (just stick in the ground!), the placement possibilities are immense!
- Place along a sidewalk
- Outline a flower bed or landscape bed
- Place close a front door step so guests don’t trip in the dark
- Tuck into a flower pot
- Bring attention to a water feature with light
- Sneak into a hanging basket
- Surround a patio table
- Illuminate any outdoor area that is too dark or shadowy
- Highlight an outdoor play area, croquet space, or golf ball putting green
- Pair with string lights and fairy lights for a variety of light sources

So if your solar pathway lights were looking forlorn and down on their luck, no doubt they’ll now be lighting up your garden all night long and giving it a radiant glow. Forget buying new lights; just save money and time by restoring them instead!
Cheers!
In Case You Missed It…
One Room Challenge Spring 2023 – A Half Bath Makeover
An Astonishing Before aand After Bookcase Makeover
How to Make Dazzling DIY Mirrored Outdoor Hanging Decor